Wednesday, May 18, 2011

Upcycling at the Manor

I made a random stop at the Goodwill the day before yesterday.  I'm a lurker at all the local Goodwill stores and have some stunning GW Collection pieces in my closet that I am constantly getting compliments on.  Well, not constantly, but often.  Well, sometimes.  You know what I mean. While I was at GW the other day I found this:
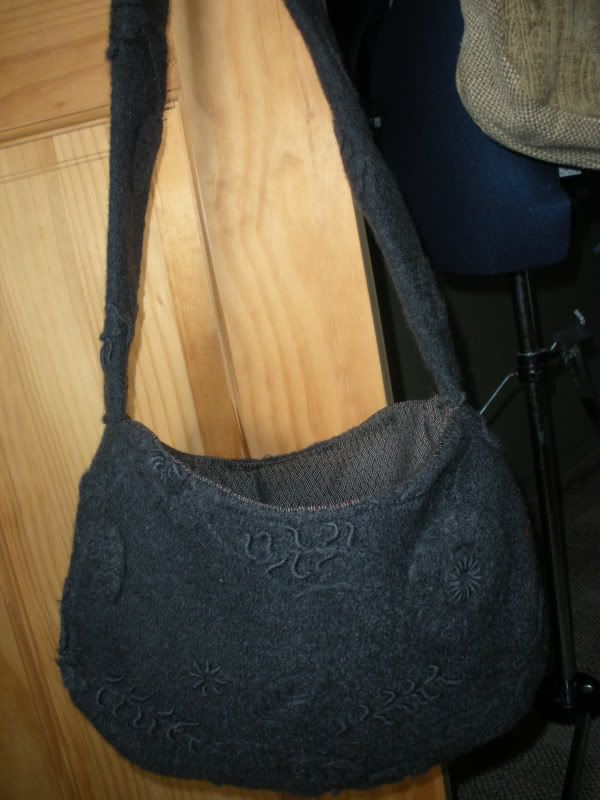
I was taken in by the texture, color and feltedness of this sweater.  The size, however was a different matter.  It was a size S from Talbot's, so it was really weensy.  I decided to spend the $4.99 on it and give it a new life as a felted bag.


Last year I created this one out of upholstery scraps.  It turned out to be a really handy bag and I've been thinking of making more.  Enter:  Talbot's size itty-bitty sweater.
I dug through my box of homemade and printed patterns, which is a heinous mess and found what I was looking for.  I thought that I had devised this pattern myself, but it appears that it was printed off of the internet.  I have no idea where I got it, I should have marked the pattern so I could give you credit (but who knew I'd be blogging about it?).  So whoever created this pattern, thank you!  
These pattern pieces are marked 1 & 2 because each piece fit on one piece of paper.  After printing, I cut them out and taped them together.  The numbers have nothing to do with construction.  Just trying to keep it all clear.
Cutting:
1.  Cut from fabric (in this case the sweater): 1 front, 1 back, 2 side pieces, 2 straps, each  2"x35" (I didn't have enough sweater for 2 straps, so I just did one.)
2.  Cut from lining:  1 front, 1 back and 2 side pieces
3.  Cut from fusible fleece:  1 front and 1 back
4.  Cut from fusible interfacing:  2 side pieces, 1 strap length

Fuse all fusible pieces to their corresponding fabric pieces (i.e.:  fusible fleece fused to the front and back pieces, fusible interfacing to sides and strap length(s)).  You'll be fusing to the actual fashion fabric, not the lining.  Just trying to keep it on the up and up and all clear.

Sewing:
1.  Take the strap length(s) and press each long edge under 1/4 inch.  Fold the strap(s) in half the long way with the pressed under edges meeting.  Stitch the full length of the strap, stitching the folded edges together.  Set aside.
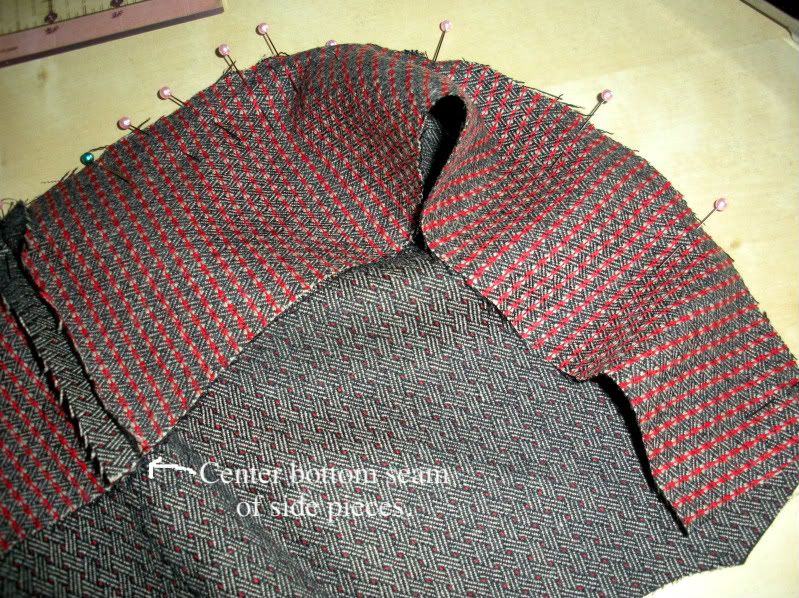
2.  Begin with the lining.  Sew the two side pieces together at the center bottom.  Pin, right sides together, the side (now one piece) to one of the front (or back) pieces.  Be sure to pin.  I used eleventy hundred pins to ease in the fullness of the front (or back) pieces.  It all fits in the end, but you have to pin those curves:
See the center bottom seam?  And how the side pieces are a little narrower at the top edges?  This gives the purse some shape so that it's not just a square-ish bucket.  Not that there's anything wrong with that.
3.  Repeat for the other front (or back) piece.
4.  Time to start the main fabric event.  Simply repeat what you did for the lining with the main fashion (sweater) fabric.
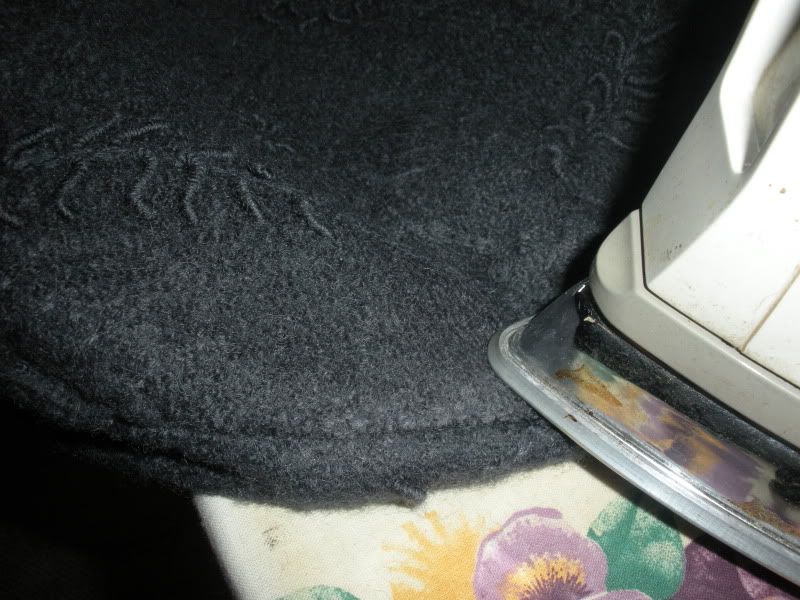
5.  Turn the fashion fabric bag right side out and as best as you can press the seams on the right side:
Just look at that texture!  Also, make sure that when you buy a new ironing board cover at Ikea that it fits, so you don't have to show the world your skanky old cover.
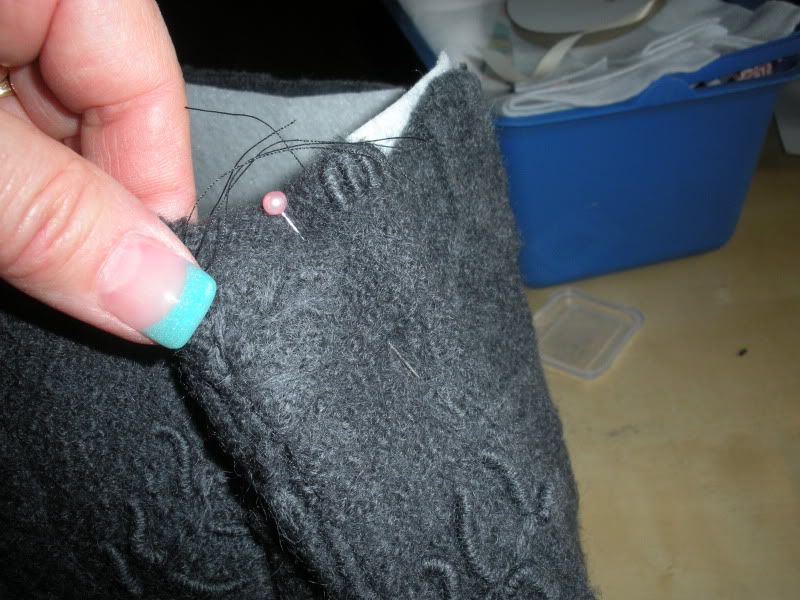
5.  Next, pin the strap to each side top edge, letting the strap go under the bag.  Don't pin it and have it going across the top as if you could put it over your shoulder.  You want it under so that when you turn the whole thing out it's where it should be:
Don't judge.  The aqua tips seemed like a good idea at the time.  When I was 12.

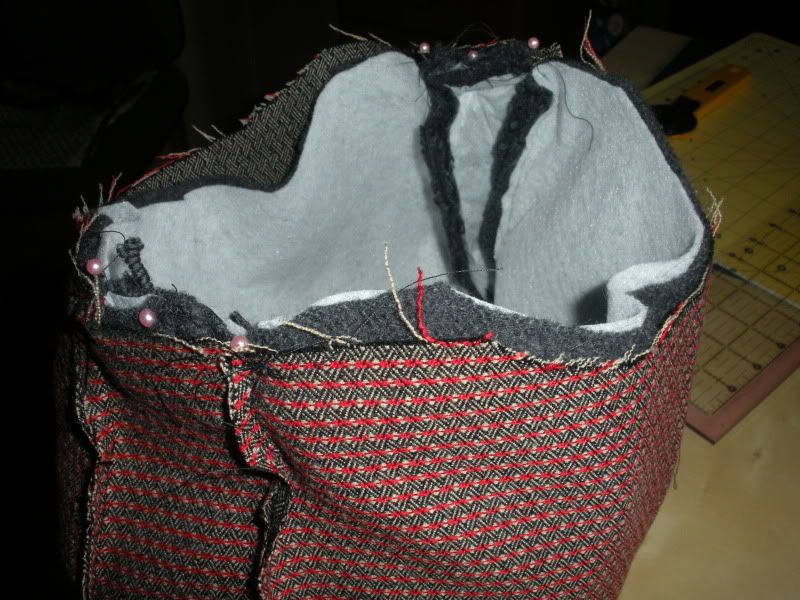
6.  Place the fabric purse inside the lining purse, right sides together.  The wrong side of the lining is going to be facing you, and the strap will be inside, between the lining and the fabric.  See:
7.  Sew around the top edge of the bag, leaving an opening of about 5 inches to turn.  Pull the fabric to the outside, finger or iron press, remove bulk in the curves, sew a final topstitch around the top edge and you're done!  It's easy to add a snap closure; add to the front and back of the lining pieces before sewing the lining and fashion fabric together.

This should be perfect for fall.  Or spring here in the NW, since it's fall weather anyway.

You could easily create your own pattern and make it any shape you want, using these instructions as a guide.  This bag is approximately 14 inches across the bottom and about 11 inches high.  The side pieces are 2 inches wide at the top, angling out to 4 inches at the widest point where the two sides pieces meet at the center bottom.

Visit thecsiproject.com

This is my very first time trying a CSI Project and I'm excited to give it a go!

Somewhat Simple


Cheerio!
DeeDee

Tuesday, May 17, 2011

Scrap Happy

'Member back here when I said I had some scraps to use up?  Well, in fits and starts I've begun to diminish the gargantuan scrap bin.  I can't seem to toss any scrap out.  I was even keeping selvages for awhile until I thought that my hoarding may be becoming a problem.  Now lookie what I could have done with them.  Alas, I threw them away before I saw any of this brilliant-ness.  Now I'm keeping everything.
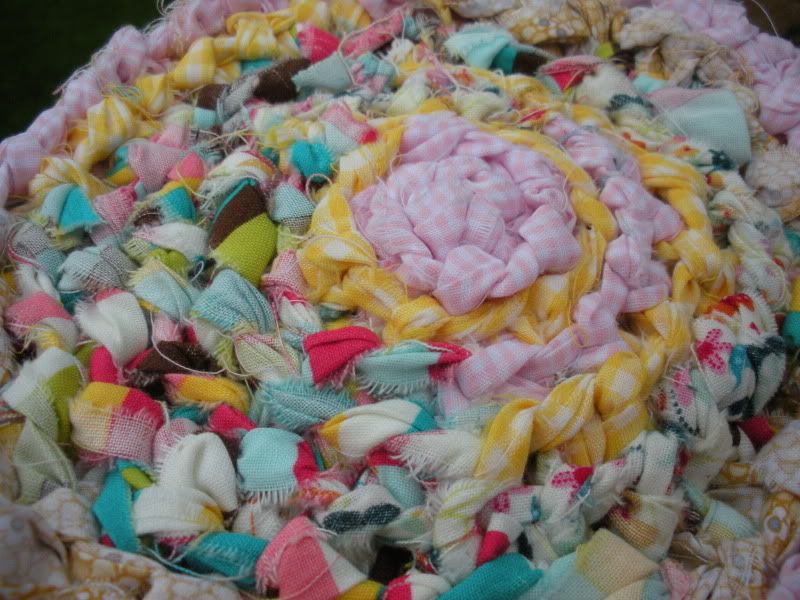
I started with a mini version of a rug I have in the Manor loo.  We'll call this a hot pot rug....
I started with this:
I tore 2 inch wide strips from large scraps of leftover fabrics.  I wanted the edges to be funky and shabby and thought that after it was all crocheted most of the edges would be tucked pretty tightly anyway.  I don't know the size of that crochet hook, I just got the biggest one I had.  It probably could have been even a little bigger, but it worked fine, really.  Next I tied a slip knot in the end of a strip, chained 4, 2 SC in the 3rd chain from the hook and proceeded that way (2 SC in each chain) until I came to the end of that first row.  It was then 2 SC in each stitch from the previous row, making rounds until I used up all of my strips.  When I came to the end of a strip I simply either tied a new strip on or looped the new strip over my hook and continued crocheting.  I'm going to make more, and might even make one big enough to have a replacement for the loo rug that was my inspiration.
This beauty was made by a 92 year old client of mine.  It's so adorable, and so was she.

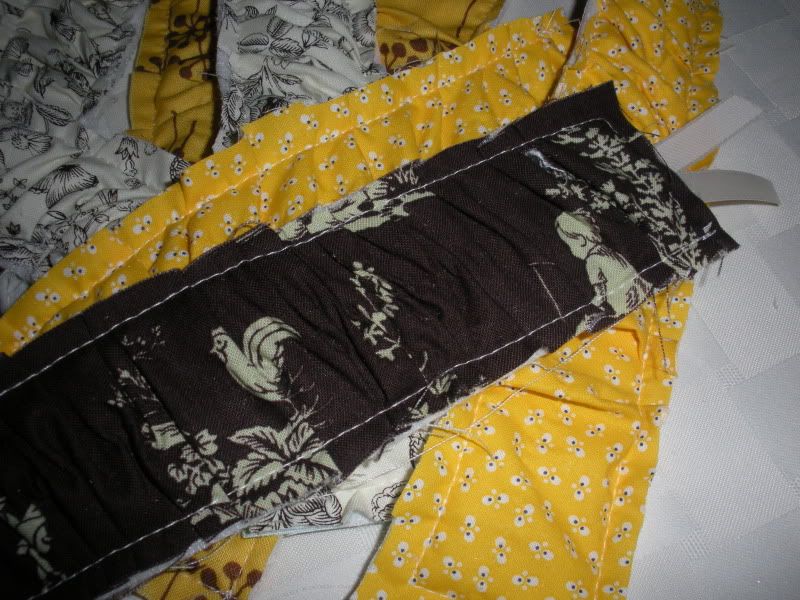
While I was flopping around on the internet the other day I came across this.  A perfect idea to use more scraps.  My ladies' bible study group is beginning a study that requires lots of reading and flipping and flying around the bible and our workbooks.  It seemed to me that we could all use a cute bookmark.  So the toile and polka dot fabric that flirted with the idea of becoming a quilt for Princess Pooalot (she was over the toile by the time she arrived) became ruffled bookmarks for a lovely group of ladies.
Get the tut here.  Easy peasy.

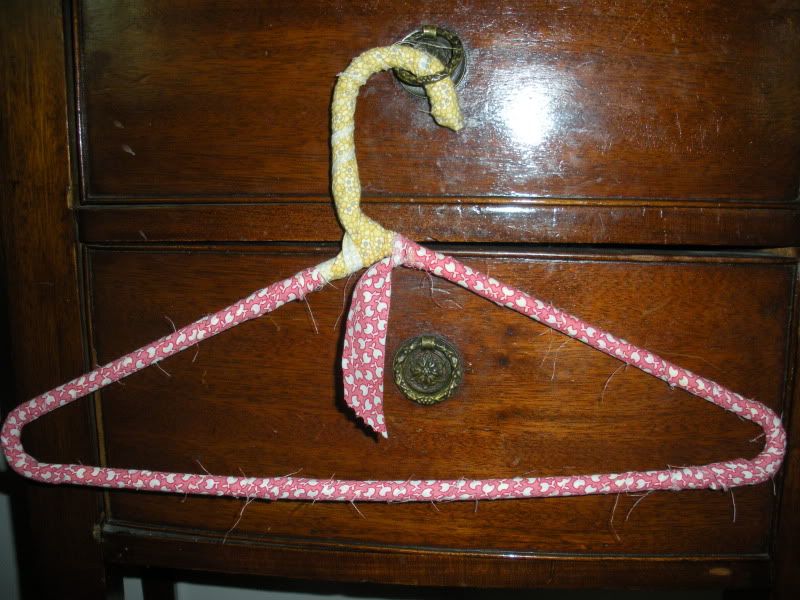
Years ago I figured out how to cover hangers with crochet.  I thought there must be a cute way to do the same with fabric.  Crocheting with fabric strips around a plastic hanger just seemed more trouble that it was worth, plus I think I'd end up with a really fatty hanger.  So I wrapped hangers instead.  Again, I tore about 2 inch wide strips, folded the end of one strip over the end of the hanger, wrapping the remaining over that end to hide and secure it.  I continued wrapping until I came back to the place I started and slipped the tail into the final wrap, pulling the tail tight.  Cute and the shoulders of my shirts don't flop off.


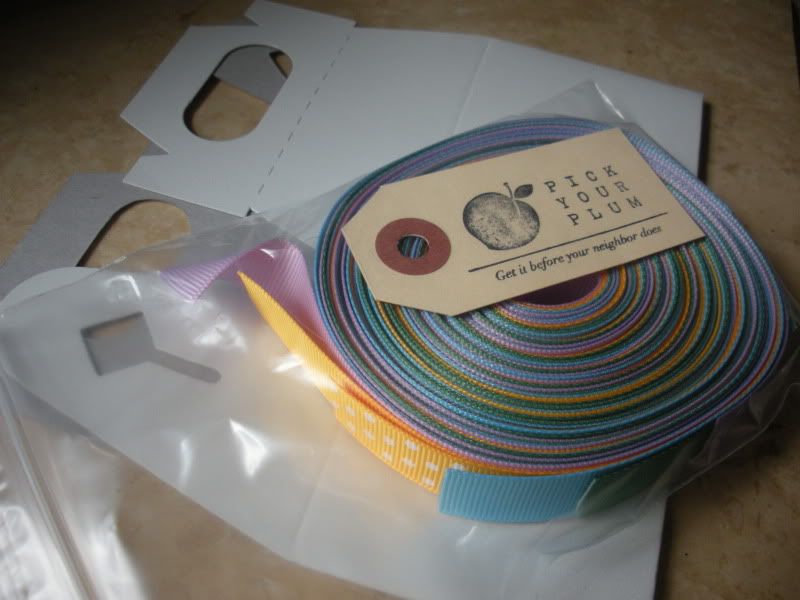
Do you guys know about Pick Your Plum?  It's fantabulous!  Look what I got for almost no shillings:

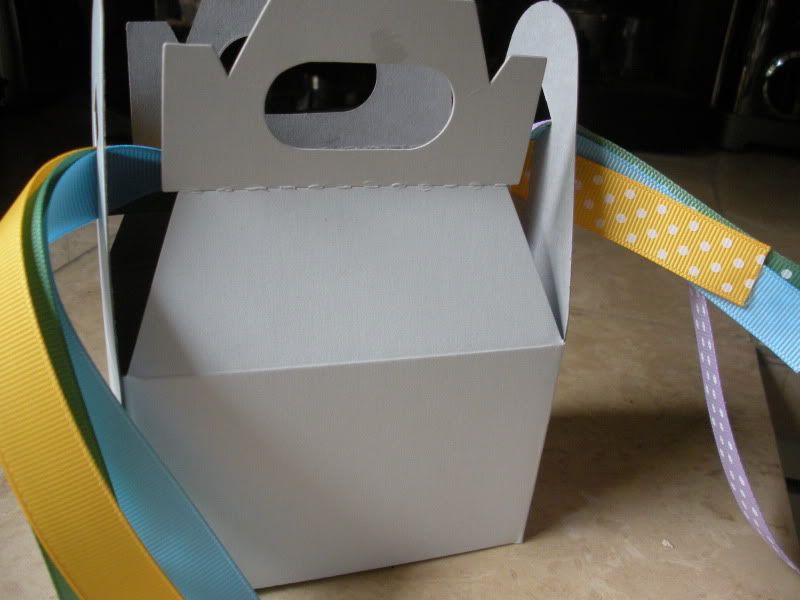
Bunches of ribbons with it's own little distributor box.

Last week I got vinyl for my Cricut for .25 a sheet.  Every day or so they have a new bargain that's unbelievable, and they send you an email so you can get in on it before your neighbor does.  It's worth checking out, people.

Cheers to you!

DeeDee


Linking to:


Tuesday, May 10, 2011

The Sicks at the Manor

I don't know if it was something I ate at the Royal Wedding, realizing that even at my skinniest my hiney never looked like Pippa's, or a real live virus but I've been sick.  I won't go into ugly deets, but oh. my. goodness.  I'll just remind you to wash your hands after reading this post.

There were some benies from the sicks, though.  I lost 6 pounds, and I'm a couple of days into feeling "normal" and it's still gone.  And, oh yeah, I got an awesome get well gift from a friend that I've done some things for:  a spanking new Ipad!  For reals.  The "some things" that I mention include stuff like sending emails, making business-ey phone calls (where I try and sound like an attorney/doctor/accountant/CIA agent or something), writing letters (again, putting on my attorney/doctor/accountant/CIA agent hat) and the like.  My friend, although a very successful business woman who got where she is by the seat of her cute little pants speaks very broken English and doesn't feel confident making her point with professional types.  And, something in me likes to go toe to toe with those types.  Anyhoo, I have an ancient laptop that I use at work that is slower than slow and generally a piece o'crap so she gifted me with a new IPad.  Incredible, I know.  Oh, and then she took me out to dinner to top it off.  I'm going to make her a Quiche Lorraine to thank her.  I think that's about equal, right?  Really, how do you respond to a gift like that?  It'll be here in 5 weeks (I know, can't they build those faster?) and then I'll need total silence while I figure it out.

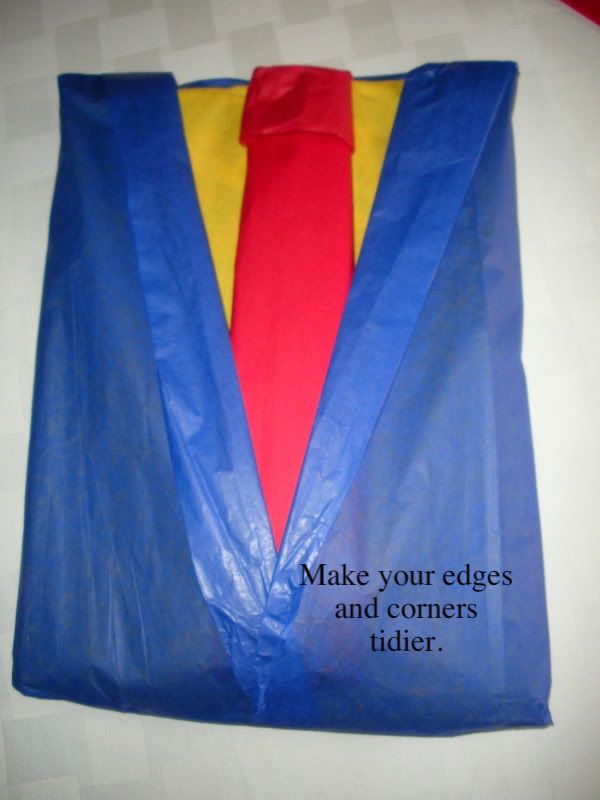
I did do a little crafty thing the other day.  A friend's daughter is having her first baby.  It's a boy, so I wrapped the gift so that it looks like a little business suit.  Here's how I did it:
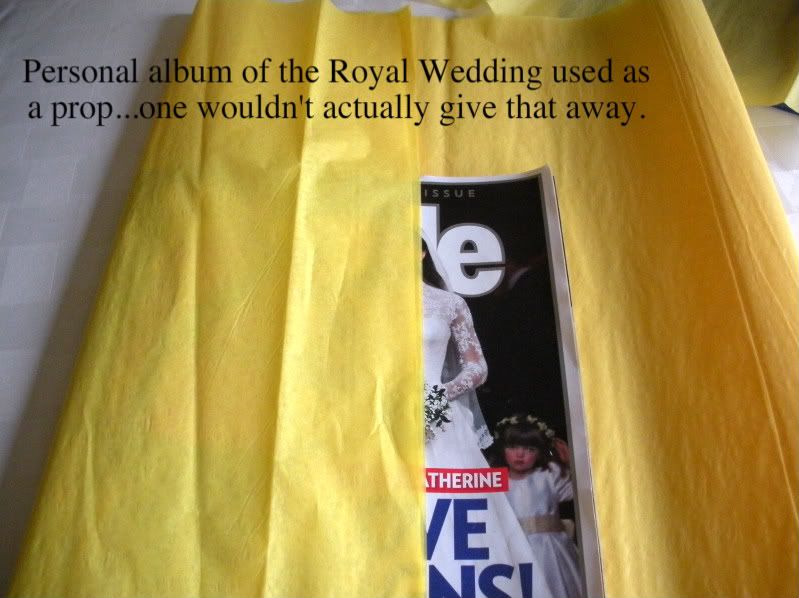
Since I was still feeling pukey when I actually did this for real and didn't take pictures, I'm using what I could put my hands on for demonstration purposes.   For the real gift I did use tissue because it was the only gift wrap I had in the house that wasn't wedding or little girl, and I didn't think Luke would appreciate either.  So, lay the gift in the center of the paper you'll want to be the shirt.  Fold one side to the center.
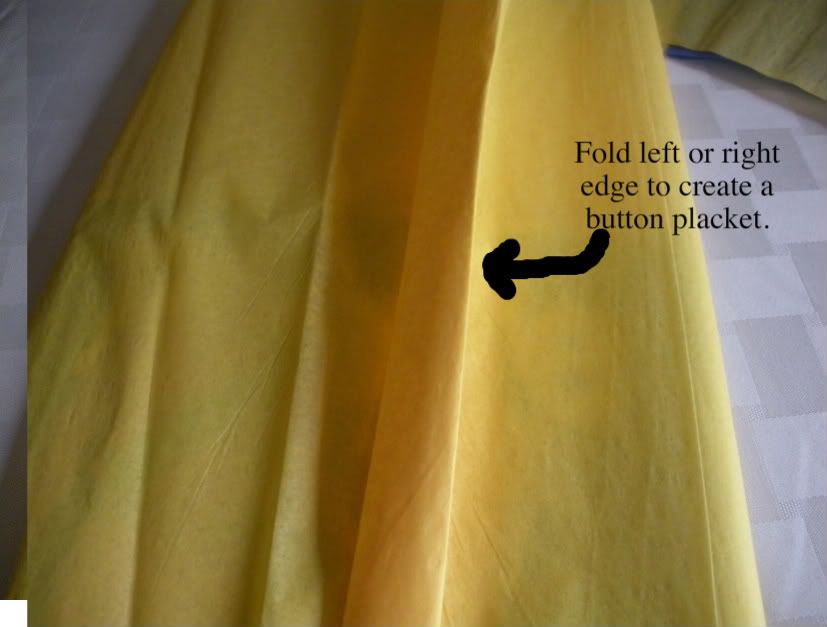
Fold the opposite side to the center, folding the edge over (2X) to create a button placket.  I can't remember which side buttons go on for boys and girls, but you'll know.
After you've folded the top and bottom edges of the shirt under to the back of the package, lay it in the center of the suit paper.  Now fold the edges at an angle (again 2X) to create lapels.  Fold the top and bottom of the suit to the back, as you did the shirt.  Of course, tape as you go.
Add a tie and perhaps a pocket that you could put a little gift enclosure into and there you are!
Of course, tidy up the corners and edges.  I was trying to save .29 worth of tissue, so I didn't actually tape this example.  You could use regular gift wrap which would give you some really crazy cute options or even receiving blankets.  I haven't tried this on different shaped gifts. Since this idea came to me in my fevered state, this is as far as I got.  Anyway, it was cute and the Lord of the Manor thought I was a genius.

Yesterday when I finally felt like I had some umph I decided to clean and organize a couple of the Manor kitchen cupboards....I'll fill you in on that another day.  It was epic.

Cheerio!

After re-reading this I realize that the little suit looks like a lounge lizard suit.  Very nice.