Showing posts with label sewing. Show all posts

Wednesday, May 18, 2011

Upcycling at the Manor

I made a random stop at the Goodwill the day before yesterday.  I'm a lurker at all the local Goodwill stores and have some stunning GW Collection pieces in my closet that I am constantly getting compliments on.  Well, not constantly, but often.  Well, sometimes.  You know what I mean. While I was at GW the other day I found this:
I was taken in by the texture, color and feltedness of this sweater.  The size, however was a different matter.  It was a size S from Talbot's, so it was really weensy.  I decided to spend the $4.99 on it and give it a new life as a felted bag.


Last year I created this one out of upholstery scraps.  It turned out to be a really handy bag and I've been thinking of making more.  Enter:  Talbot's size itty-bitty sweater.
I dug through my box of homemade and printed patterns, which is a heinous mess and found what I was looking for.  I thought that I had devised this pattern myself, but it appears that it was printed off of the internet.  I have no idea where I got it, I should have marked the pattern so I could give you credit (but who knew I'd be blogging about it?).  So whoever created this pattern, thank you!  
These pattern pieces are marked 1 & 2 because each piece fit on one piece of paper.  After printing, I cut them out and taped them together.  The numbers have nothing to do with construction.  Just trying to keep it all clear.
Cutting:
1.  Cut from fabric (in this case the sweater): 1 front, 1 back, 2 side pieces, 2 straps, each  2"x35" (I didn't have enough sweater for 2 straps, so I just did one.)
2.  Cut from lining:  1 front, 1 back and 2 side pieces
3.  Cut from fusible fleece:  1 front and 1 back
4.  Cut from fusible interfacing:  2 side pieces, 1 strap length

Fuse all fusible pieces to their corresponding fabric pieces (i.e.:  fusible fleece fused to the front and back pieces, fusible interfacing to sides and strap length(s)).  You'll be fusing to the actual fashion fabric, not the lining.  Just trying to keep it on the up and up and all clear.

Sewing:
1.  Take the strap length(s) and press each long edge under 1/4 inch.  Fold the strap(s) in half the long way with the pressed under edges meeting.  Stitch the full length of the strap, stitching the folded edges together.  Set aside.
2.  Begin with the lining.  Sew the two side pieces together at the center bottom.  Pin, right sides together, the side (now one piece) to one of the front (or back) pieces.  Be sure to pin.  I used eleventy hundred pins to ease in the fullness of the front (or back) pieces.  It all fits in the end, but you have to pin those curves:
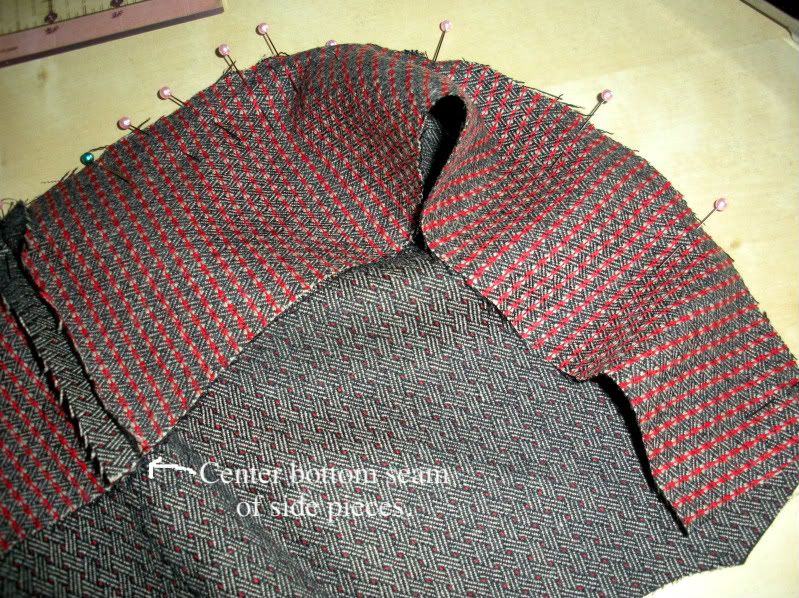
See the center bottom seam?  And how the side pieces are a little narrower at the top edges?  This gives the purse some shape so that it's not just a square-ish bucket.  Not that there's anything wrong with that.
3.  Repeat for the other front (or back) piece.
4.  Time to start the main fabric event.  Simply repeat what you did for the lining with the main fashion (sweater) fabric.
5.  Turn the fashion fabric bag right side out and as best as you can press the seams on the right side:
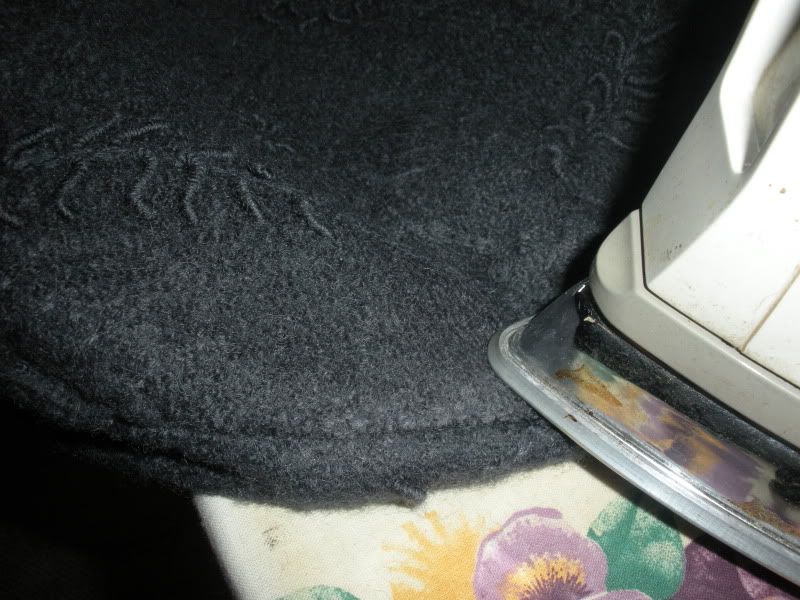
Just look at that texture!  Also, make sure that when you buy a new ironing board cover at Ikea that it fits, so you don't have to show the world your skanky old cover.
5.  Next, pin the strap to each side top edge, letting the strap go under the bag.  Don't pin it and have it going across the top as if you could put it over your shoulder.  You want it under so that when you turn the whole thing out it's where it should be:
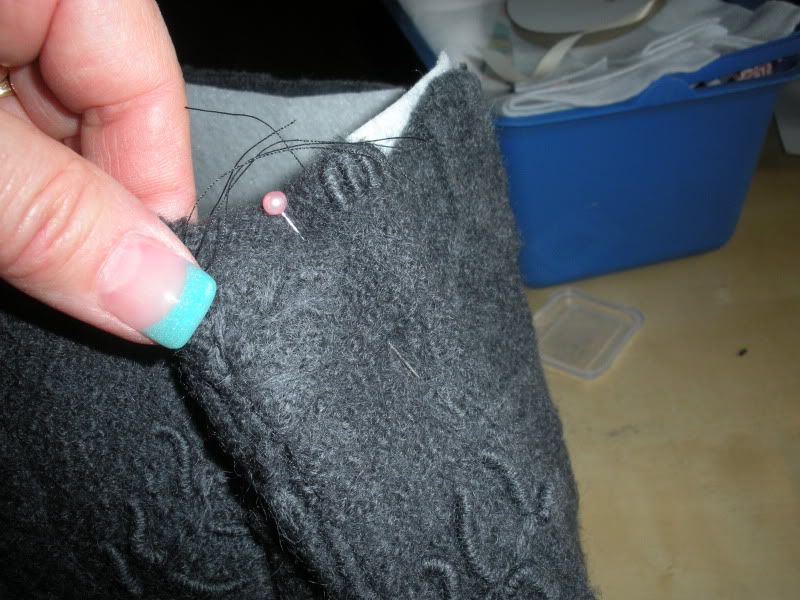
Don't judge.  The aqua tips seemed like a good idea at the time.  When I was 12.

6.  Place the fabric purse inside the lining purse, right sides together.  The wrong side of the lining is going to be facing you, and the strap will be inside, between the lining and the fabric.  See:
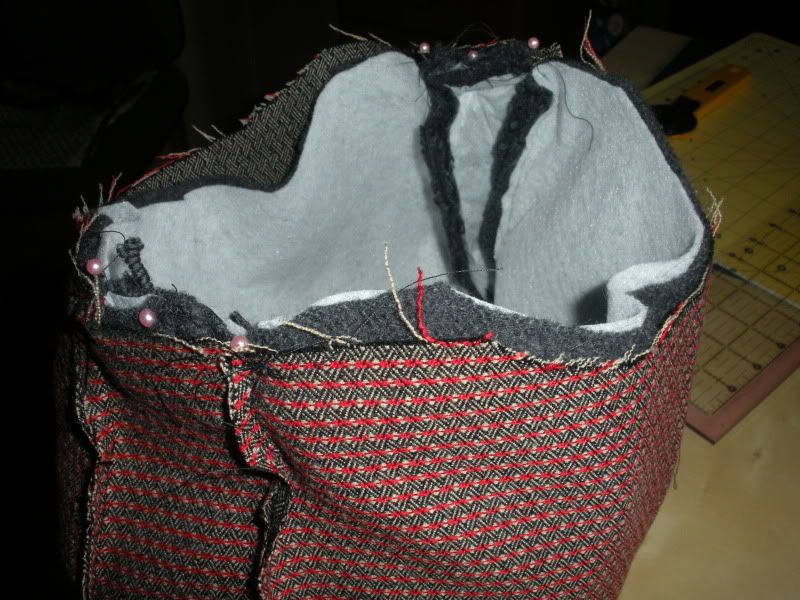
7.  Sew around the top edge of the bag, leaving an opening of about 5 inches to turn.  Pull the fabric to the outside, finger or iron press, remove bulk in the curves, sew a final topstitch around the top edge and you're done!  It's easy to add a snap closure; add to the front and back of the lining pieces before sewing the lining and fashion fabric together.
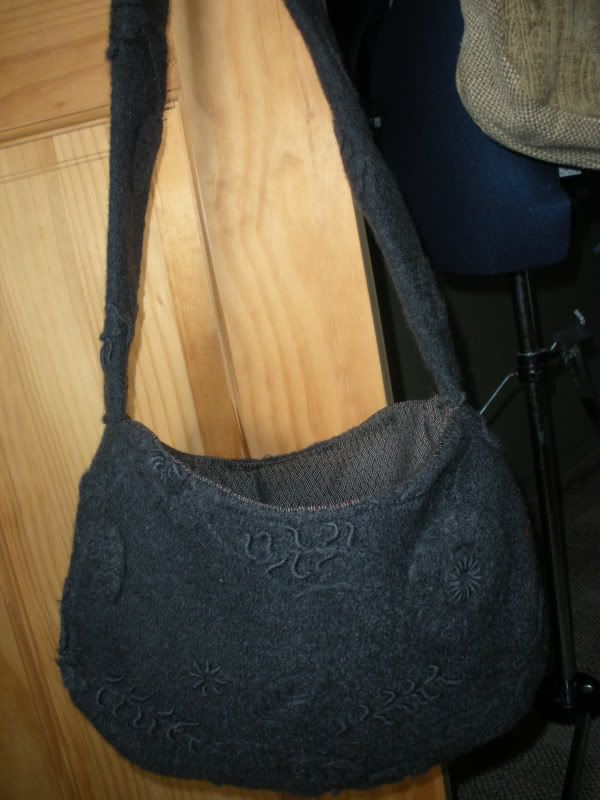
This should be perfect for fall.  Or spring here in the NW, since it's fall weather anyway.

You could easily create your own pattern and make it any shape you want, using these instructions as a guide.  This bag is approximately 14 inches across the bottom and about 11 inches high.  The side pieces are 2 inches wide at the top, angling out to 4 inches at the widest point where the two sides pieces meet at the center bottom.

Visit thecsiproject.com

This is my very first time trying a CSI Project and I'm excited to give it a go!

Somewhat Simple


Cheerio!
DeeDee

Tuesday, April 5, 2011

Some Craft....

I did a teeny bit of crafting today. I've been inspired by all the spring stuff I've been seeing around the internets.  I'm all refreshed after a lovely weekend at the coast with some lovely women, so I put together some things that have been on my mind.  One of them SO didn't work out, and when I recover from the hilarious humiliation I may let you see it.
As I mentioned before, this is Princess Pooalot's first Easter and when I saw this and knew Princess P had to have something similar.  Char used her Silhouette.  I have one, but we're not that friendly yet.  Every time I use it, it's like it's the first time I've seen it and it takes me three times as long  to accomplish anything.  So I decided to try the more labor intensive and more familiar route.

I had a piece of this chenille-ish fabric and I thought it would make perfect chicks.  I free-handed a chick-like creature for a template/pattern (what's the difference?)  You can see that I was having second thoughts about the size of my chick as I cut it out.  I'm glad I did, it turned out to be a really nice size on the little onesie.  After cutting it out, I pinned the chenille chick to a freshly pressed onesie with about 75 pins (I thought I had some Wonder Under, but couldn't find it) and sewed a zigzag stitch around it, as to applique. Well, yeah it was actually an applique. Since I was attaching a woven to a knit, I used a fairly wide zigzag stitch, not wanting to add a bunch of thread to the onesie.

I decided to use a stencil and fabric paint for the letters.  I mentioned my fear of my Silhouette, right?  In the end, I think I should have gotten over myself and tried the Silhouette. Still, I'm pretty happy with the results...
I think Princess Pooalot will like it, too.  I love it when they're still so young that they have to wear the stuff I make them.

I also had the opportunity to put another idea together.  Whilst I was away this weekend, my dear Earl did the laundry.  ALL the laundry.  Even that which should have gone to the cleaners.
So, yeah.  Here's my sweater.  I shouldn't wear horizontal stripes anyway.  But Princess P can...

Baby legs!

Here's a peek at another project as it begins...
We'll see how this turns out.

All in all, a good day at the Manor, I must say.


Thank you for your kind comments!  It means so much to hear from you.
I linked here:
Visit thecsiproject.com

Monday, March 21, 2011

(Do not) Let the Sunshine in....

The dining room here at Fairfield Manor has a big west facing window.  I have struggled to find cheap  not crappy looking window coverings for this room.  To complicate things for me, it has a north facing window that butts right up against the corner of the west facing window.  Lots of light (too much in the summer - it's like a pizza oven in there), and what the heck are you supposed to do with that dang corner and curtain hardware?  I know, I should have called a curtain hanging wizard long ago and had hardware made for it (I know you can do that, I've seen it at a friend's house who actually spent some dough), but add that to the cost of custom draperies and well, I've mentioned the Earl, haven't I?  He was happy with the macrame-esque things that were hanging in there when we bought the Manor.  Plus, I can sew, people.  So, I've made several stabs at window coverings for the dining room, none really successful.  Until now....

I found fabric for 50% off at Fabric Depot last year.   On a side note, I'm sorry for you if you don't live in Portland, where you can shop at Fabric Depot, it's fabricy/crafty heaven.  Back to my story:  later in the year I found blackout fabric at Joann's for 50% off (surely you have a Joann's in your town?).  I placed the blackout fabric in my sewing room near the Fabric Depot fabric and left them alone for several months.  They didn't spontaneously mate, so I set to work recently.  As I mentioned here, I don't always have what you would call a concrete plan when I start a project.  I did have the Duke hang some hardware for me, though. Using a very fancy saw as big as my dishwasher, he cut a perfect angle on a each of 2 wooden rods, making the dang corner non-problematic.  Now, we needed curtains/drapes (what's the difference?).
I measured the width of the window, added 1.5 times that measurement (for floof and fullness), and cut that measurement in half so I'd have 2 drapes hanging that will gloriously slide along the rod and close out the blasting sun (when it arrives).  I then measured the length and added 2.5 inches for the rod pocket and 5 inches for the hem.   Cut, cut, cut.  Re-measure, cut.  I cut the blackout fabric 4 inches narrower and about 6 inches shorter than the drapery fabric.  I'll explain later, as I go.
I sewed the blackout fabric and the drapery fabric, right sides together, along the long sides, making a gigantic tube with the hem edge and the rod pocket edge open.
Notice that the top of the blackout fabric is not even with the top of the drapery fabric.  The picture shows the top of the drapes (before turning right side out), with the fabric that will become the rod pocket without blackout fabric.
Next, I turned the tube right side out and pressed the edges.  I hope this picture makes clear what I did:
See, the blackout fabric is narrower, so when I turned it all right side out, it created that nice finished edge.  Pretty nifty.  Again you're looking at the top where the rod pocket will soon be.

Time to sew the rod pocket.  I just turned down the top edge, turned under the raw edge 1/4 inch and sewed it down.  I caught the blackout fabric in the sew-down, so it's all tucked and tidy.
If you decide to try this yourself and all the math and the fact that you don't have a plan and you're making up the rules as you go is making you nuts and ready to snatch yourself bald, wad the whole thing up set the project aside....
and fold your SmartWool socks fresh from the laundry.  Go back to it later.

After you've taken a break and perhaps had a cocktail, you are ready to hem.  I did the same thing here as I did for the rod pocket, fold over, turn raw edge under 1/4 inch and sew that thing down.  Except on the hem I had to use someone's freaky wrinkled hand to help....
No, actually, that's a freaky wrinkled hand sewing the right sides together at the very beginning.  Just do as I say, not as I show.  It works fine.  Seeeee.....
One more to make for the narrow north facing window and I'm done!  I finally feel like I've got the right thing hanging there, ya know what I mean?

I sat at the dining room table and ate a salad with croutons made from this and felt pretty dang good about life....


I've linked here: